Danielle Lachana
To end our short stay in Greece, with the promise to return again in the future, here is a recipe for sweet and savoury lovers alike - A traditional Cretan pie.
Have it for breakfast with honey, or as a dessert, or serve in the savoury version without honey as a snack accompanied by tomatoes and olives.
Almost everyone who is familiar with Greece has heard of the omnipresent Cheese pie or Spinach pie - well, here is a perhaps less well known, but no less tasty, pie that you can make yourself and which does not use phyllo (filo) pastry - but a kind of pastry you can easily, and economically, make yourself at home!
This pie is called ''Sfakianopita'' in Greek since the ''pita'' (pie) comes from the mountainous Sfakia region in South-West Crete. In Sfakia there were many farmers and cattle raisers who needed to take food with them that was not hard to make, easily transportable, as well as satisfying, for their long day out working in the mountains. This is how this particular cheese pie originated, making the most of the fresh local produce - the renowned honey and cheese.
The pie is traditionally made with a goat or ewe milk based fresh mizithra cheese (either the sour variety [xinomizithra]or sweet variety. For locals the best is supposed to be the ''galomizithra'' from Hania in Crete. While in other recipes, ''ricotta'' or even ''cottage cheese'' is offered as a substitute for mizithra, neither will work for this particular pie since they are too liquidy (even if you pre-drain and dry it, the cheese still tends to seep out of the dough). Nevertheless, I have come up with my own alternative (see NOTE below)* with the much more readily obtainable feta cheese. Feta is not one of the most widely-used cheeses in Crete, the texture is not the same as mizithra, and the taste is different, but it does provide a tasty substitute if you cannot find any sort of mizithra.

METHOD
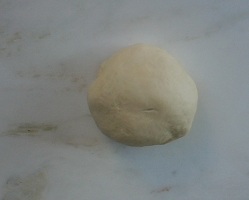
Mix the flour with the salt and sieve into a large bowl. Make a ''well'' (hollow) in the centre into which you will add the olive oil, Raki (or other spirits/lemon juice) and enough water to form a medium soft elastic dough. Start by adding half the water and mixing and kneading with your hands - different flours require different amounts of water. The correct consistency is when the dough is soft and elastic but does not stick to your hands. If you find it too sticky add more flour, if it is too dry, add more water. When ready, divide the dough into 10 equal pieces - if you want you can weigh it out. Keep the dough balls in a bowl covered with a clean cloth so that they do not dry out. Divide the cheese into 10 equal pieces (weigh if liked) and roll into balls the size of a largish egg.
Take one of the dough pieces and roll out into a thick round of about 12 cm - size at this point is not important, it just has to be large enough to completely envelop the ball of cheese later.

Put one cheese ball in the centre and fold over the dough pulling it gently as needed.

Tuck the sides in well because you do not want the cheese to escape later when rolling out again.

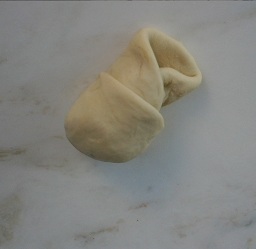
Three corners folded in.

All four corners folded well in, pressed and now underneath.
Lightly dust your work surface with flour. Roll out again to regain a circular shape, but this time larger - the size of a small plate (15 cm +) which if you like, you can place on top of the dough and cut around to obtain a more perfect circular shape. Personally I prefer the more 'rustic' look. More importantly, you should aim to roll out the dough as thinly as possible (2 - 3 mm thick) without the cheese coming out! This is a bit tricky, so you should roll gently outwards and not press down too hard.

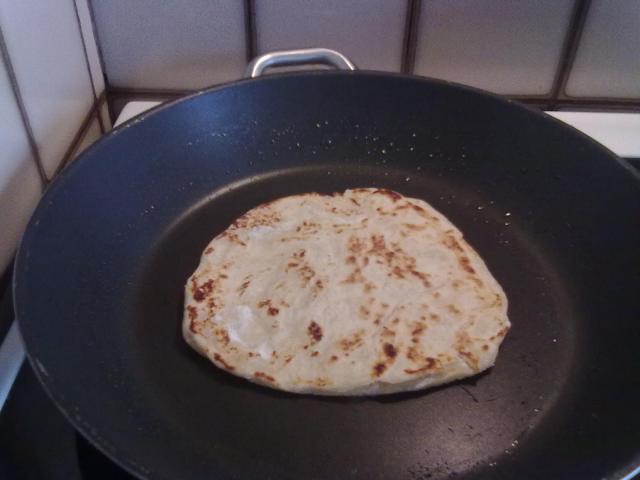
Lightly brush a frying pan, preferably non-stick, with oil and put over a medium-high heat. When hot put in the rolled-out pie and move it around frequently. When you feel it coming unstuck from the pan, turn it over and do the same again.

Turn it over again a couple of times as required - bubbles will start forming as the cooking continues - The aim here is for it not to be uniformly brown but for it to have the characteristic brown spots.

It is not as hard as it sounds - just keep it moving to avoid burning and use as little oil as possible, re-brushing the pan after each pie. In around 5 minutes the pie should be ready.
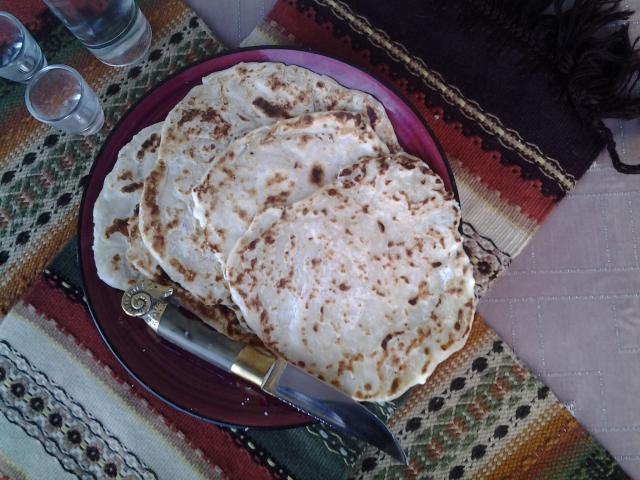
Remove from the pan and serve hot, traditionally basted with liquid honey.
For a savoury version without the honey this can be served with tomato wedges and olives and is also good with cold meat cuts.
NOTE
* For the alternative feta version
500 g feta (the driest and firmest you can find)
Approximately 2 1/2 tbsp olive oil
Chop the feta into small pieces, put in a blender and whisk with just enough olive oil and for only a few seconds to obtain a rough paste. Remove and ''mould' with the hands, pressing and kneading to make a thick, dryish mass - It has to be solid enough to form balls. Divide the mixture into 10 and make the feta cheese balls as described above.
If you want a sourer flavour such as that given by the sour mizithra cheese, substitute 1 tbsp of the 2 1/2 tbsp olive with lemon juice and whisk them well together before adding to the cheese.
Next week we will journey onwards to our new destination, Italy!