Ivan Petkov
I often see people carrying large pads with them, their desks are piled with paper and the screen of computer is littered by sticky notes. On the other hand we are all mobile - literally and figuratively speaking – we are constantly in motion, our work is pursuing us even at home, we have computers from our work, mobile computers (laptop / notebook) we have smartphones, netbooks, tablets ... But we just do not have time to figure out how to make the most use of them!
I have been planning for a long time to write this article, through which I can show you how using a few free programs we can create a "virtual office". Recently, people talk a lot about the so-called "cloud computing". I promise it will not rain! Cloud computing enable us only through an Internet connection to use them wherever we are. In this way you will not have to call a colleague and ask him for a number of a client which we have written on a note, but we forgot the desk in the office. The programs that we will use and their application do not fully meet the definition of "cloud computing", but with a pure heart, we can say that will make our own, personal cloud.
First, for the purposes of our cloud we will need a classical cloud service that will allow us to synchronize files and other data. It may sound complicated, but in practice is not. This service is Dropbox, which is located at the following internet address: https://www.dropbox.com/

When we download and install the program, it creates a folder on our computer, in which, whatever we place, is immediately synchronized with another computer where the program is also installed. Files are stored on the server of Dropbox and we can see them on their site, even without having installed on our computer the program, and for this purpose we must create an account. The free version gives us relatively little space of 2 GB, which however is enough for the purposes of this article and our personal cloud through which we will create a virtual office.
REMEMBER: For the tricks described below, to work, you must install Dropbox on every computer on which you wantto use them! It is mandatory to use the same account / registration / on each computer so as to see the same content that you synchronize.
I will not describe in detail how to install Dropbox, because they have prepared a wonderful presentation of how to use their service, which you can view at the end of the installation of the program.

We have already installed our cloud service and we are ready to synchronize ... what? I will offer you a small but very useful program that I have been using for years and serves me as my calendar, reminder and a list of tasks (To Do). I deliberately write the names in brackets because some of you may have used similar programs and can make a connection with them, as some users use the programs in English, others in Bulgarian. Rainlendar combines all these useful features and has one very big advantage: it can be seen directly on the desktop of your computer, allowing you to always see it in front of your eyes.
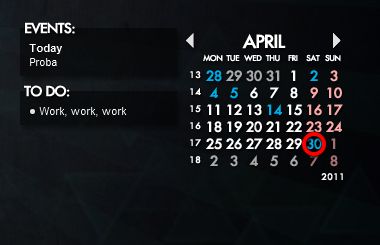
The program and more about its many useful features, you can find on the website of its author and you can also download it from there: http://www.rainlendar.net/. For many users, the free Lite version will be absolutely enough as well as for the purposes of this article. How to synchronize events and tasks that we input in our small Rainlendar calendar between all computers that we use, let’s say the one at home, in the office and the laptop? Of course, using Dropbox, which we have already installed on each computer and have created our Dropbox user account i.e. username and password.
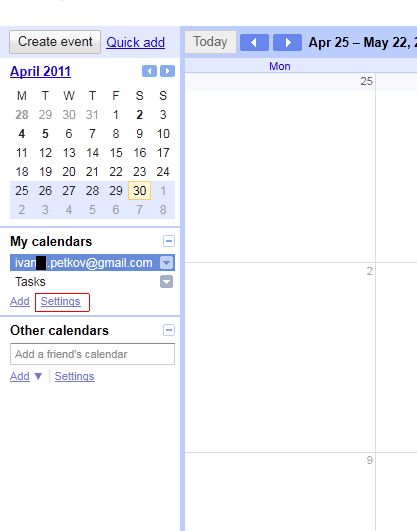
You must download a file in which our calendar will record everything and which Dropbox will synchronize. The easiest way to download it is from Google Calendar. For this purpose we must have an account in Google, and if we don’t have we must create one. Once you enter the Google Calendar, you need to open the menu "Settings", as shown in the picture below:
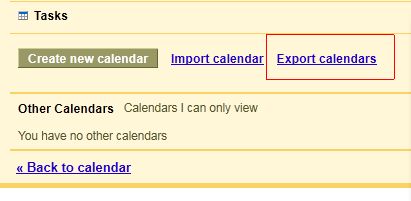
Then we need to download the file, which happens from the button "Export calendars". If we have just created our account with Google Calendar, the file will be empty, but that's no obstacle:
IMPORTANT: Save the backup file in a folder of your choice, you may also do it in the folder of Dropbox. Do however mandatorily unzip the file into the folder of Dropbox! Dropbox will automatically synchronize it between all computers on which it is installed.
You can rename the extracted file. I've named min "Internet", and the downloaded calendar for the purpose of the article I named "PROBA". Now we have to ask for the Rainlendar calendar to use the shared calendar. It is very easy, here is how we do it: right click and press "Options"

In the Options window, we choose the "Calendars", the second button from the top down, and then press the button Add:
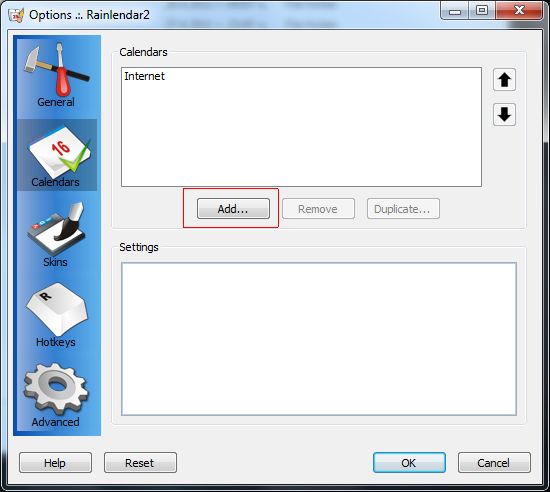
On the picture you see my work calendar which I've already added in the manner currently described. You should see a calendar that is called "Default" and it's a default calendar. Press the button Add and the following window appears:
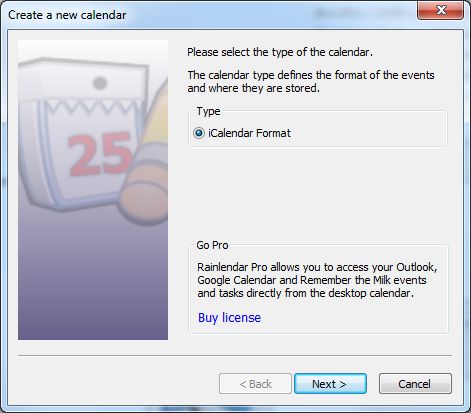
Press "Next":
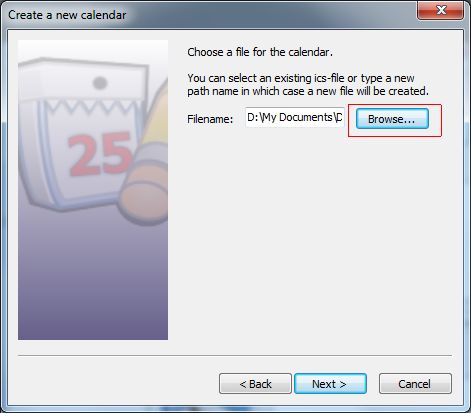
Press the button "Browse ..." and show the file that we downloaded and unzipped in the Dropbox folder. Click "Next".
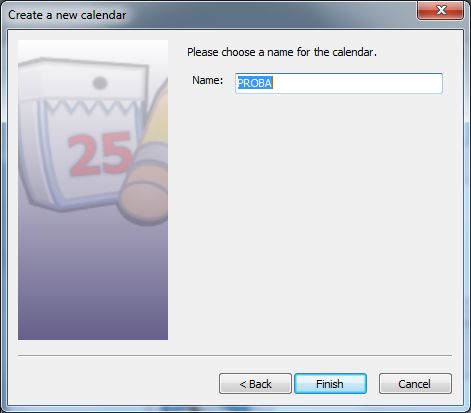
The name of our calendar appears. Click "Finish". With this you already have a calendar that is synchronized on all of your computers where you have Dropbox and Rainlendar installed. When you enter an event or task on any of the computers it will be synchronized by Dropbox and will appear in each calendar.
In the following article I will show you a few small tricks to facilitate your work and have available to you important information wherever you go.


